Image
A Table can be added in the WYSIWYG editor.
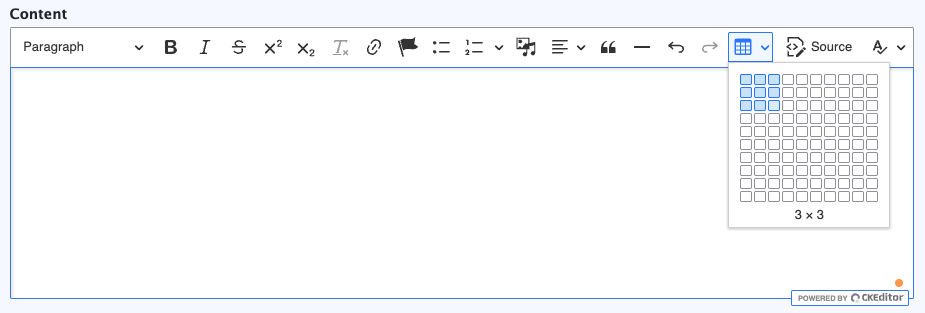
1. Select the table icon in the content editor (WYSIWYG).
2. Select the number of Rows and Columns the table should have.
Each table will have its own submenu, which you can use to customize the layout.

1. To add a Header, select the Column or the Row icon, and then use the toggles to turn on the Header Column or Header Row.
2. Add, delete, or select a column or row by selecting the Column or the Row icon and then choosing from the dropdown.
3. Add an optional Caption to the table (third icon in the submenu).
| Header 1 | Header 2 | Header 3 |
|---|---|---|
| Example text | Example text | Example text |
| Example text | Example text | Example text |
| Monday: | 5:30 am - 11:00 pm |
| Tuesday: | 5:30 am - 11:00 pm |
| Wednesday: | 5:30 am - 11:00 pm |
| Thursday: | 5:30 am - 11:00 pm |
| Friday: | 5:30 am - 11:00 pm |
| Saturday: | 9:00 am - 10:00 pm |
| Sunday: | 9:00 am - 10:00 pm |