Resize Images Before Upload
- Hero & Featured Images (.jpg, .png): Resize any image with a width greater than 2,500 pixels (px) to 2,500 px.
- All Other Images: Resize the width to 1800 px or lower.
Image files supported include: .gif, .jpeg, .jpg, .png, and .svg
Upload Images to Content Editor (WYSIWYG)
(* = required field)
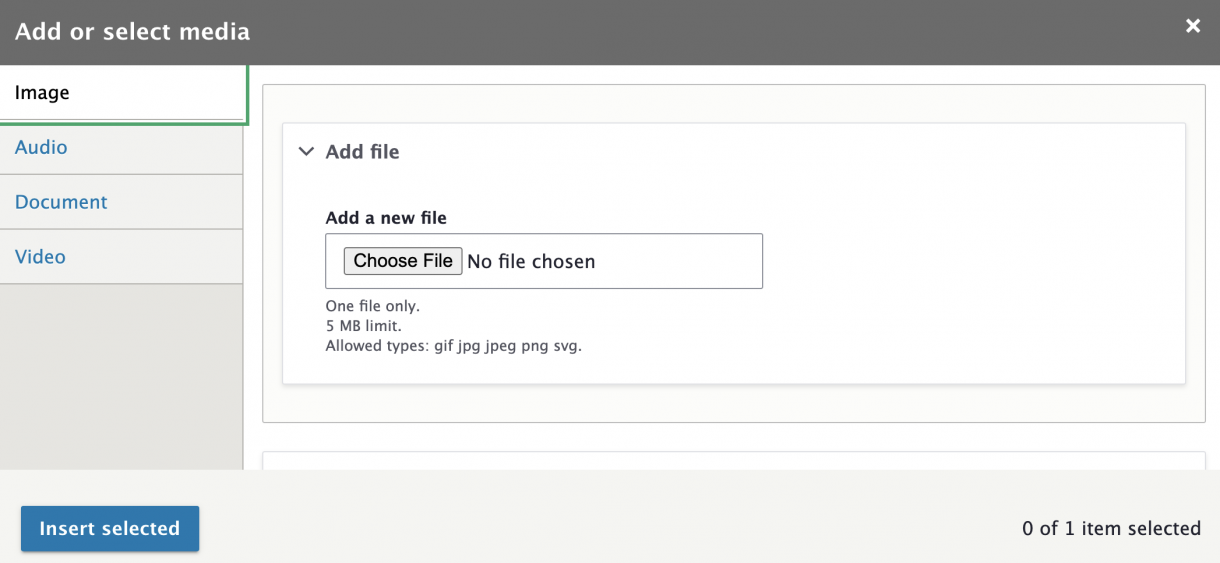
1. Select the Media button in the content editor WYSIWYG.
2. Click Image on the Add or select media screen.
3. Click Choose File and select the file you want to upload.

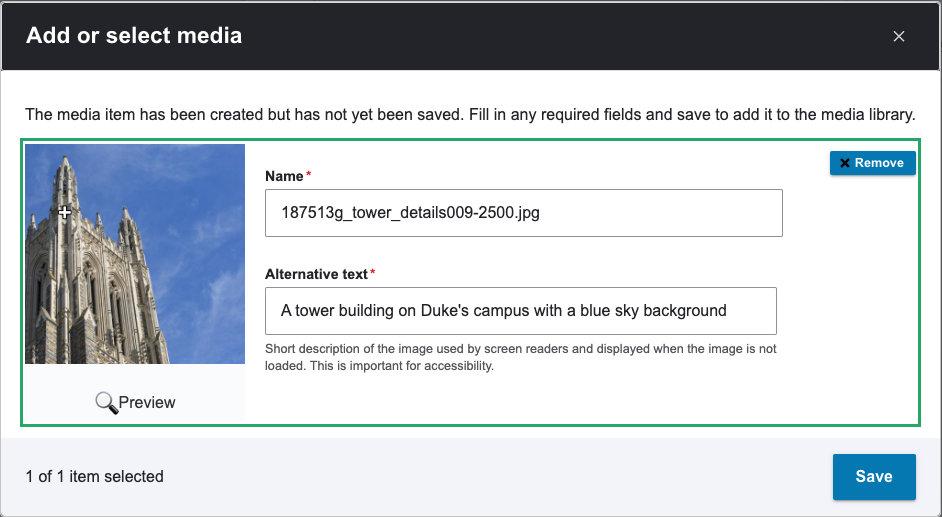
4. Another screen will appear with additional fields.
- The Name* is the file name of your image. You can change the name if needed.
- Add Alternative text* that describes the image in a way that someone who cannot see would be able to understand what the image is depicting. This is important for screen readers as the alternative text will be read out loud for the user.
- Choose an optional Focal Point Area: Click and hold the plus icon to move it to the part of the image that you would like to be the focal point. For certain screen sizes or layouts, images will be cropped around the focal point so this area of the image will remain visible.
5. Click the Save button.
6. Finally, click the Insert selected button in the lower right.

Add Images from Media Library to Content Editor
1. Select the Media button in the WYSIWYG editor.
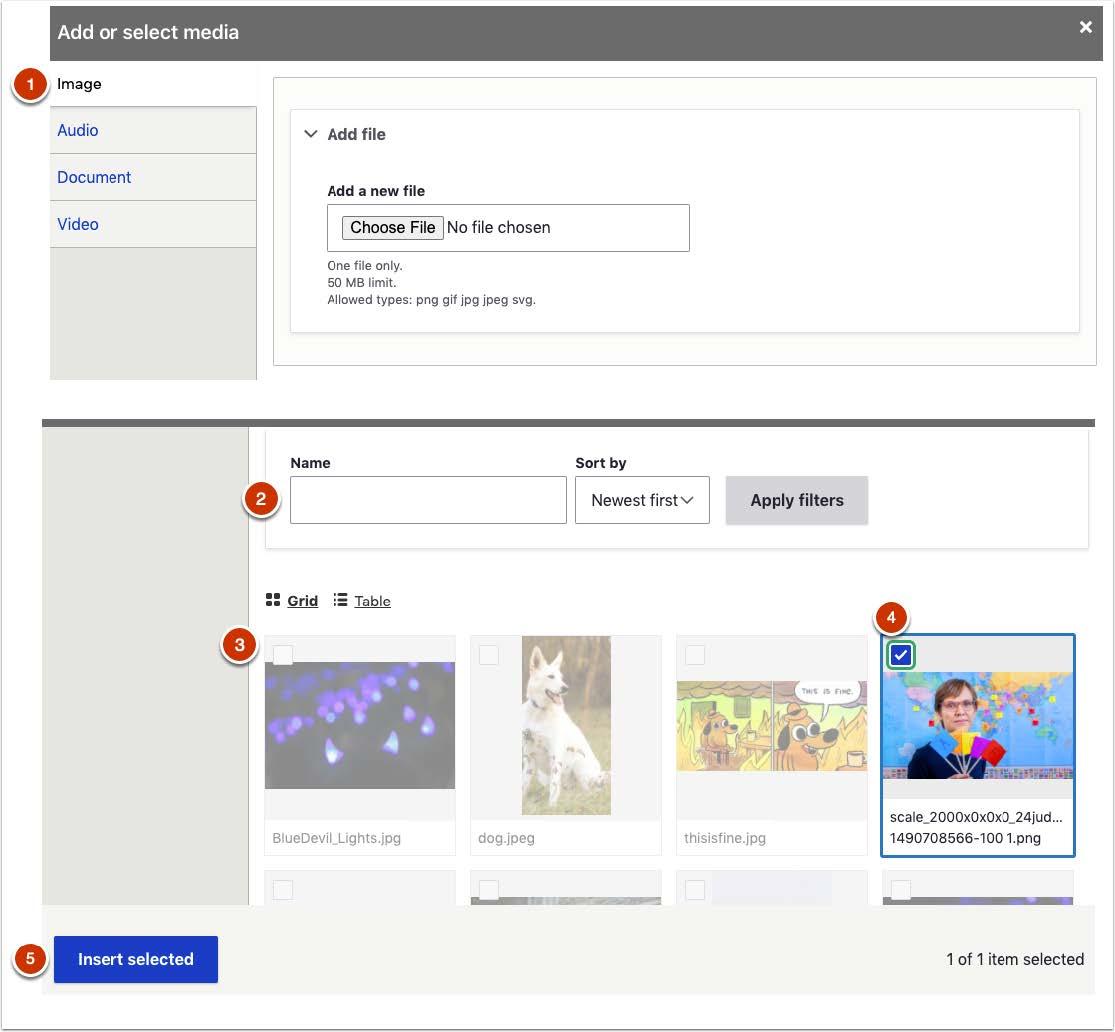
2. Click Image [1] on the Add or select media screen.
3. Scroll down this screen until you see a search box and a grid of images.
4. Search [2] for an image by image name or Browse [3] through the images in the media library.
5. Select the check box [4] next to the image you want to insert.
6. Click the Insert selected [5] button.
7. After you add an image to the WYSIWYG editor, you can add a caption and change the alignment and display size.

Edit, Preview, or Replace Images
Review the Editing and Previewing Media section on the Media Library page.